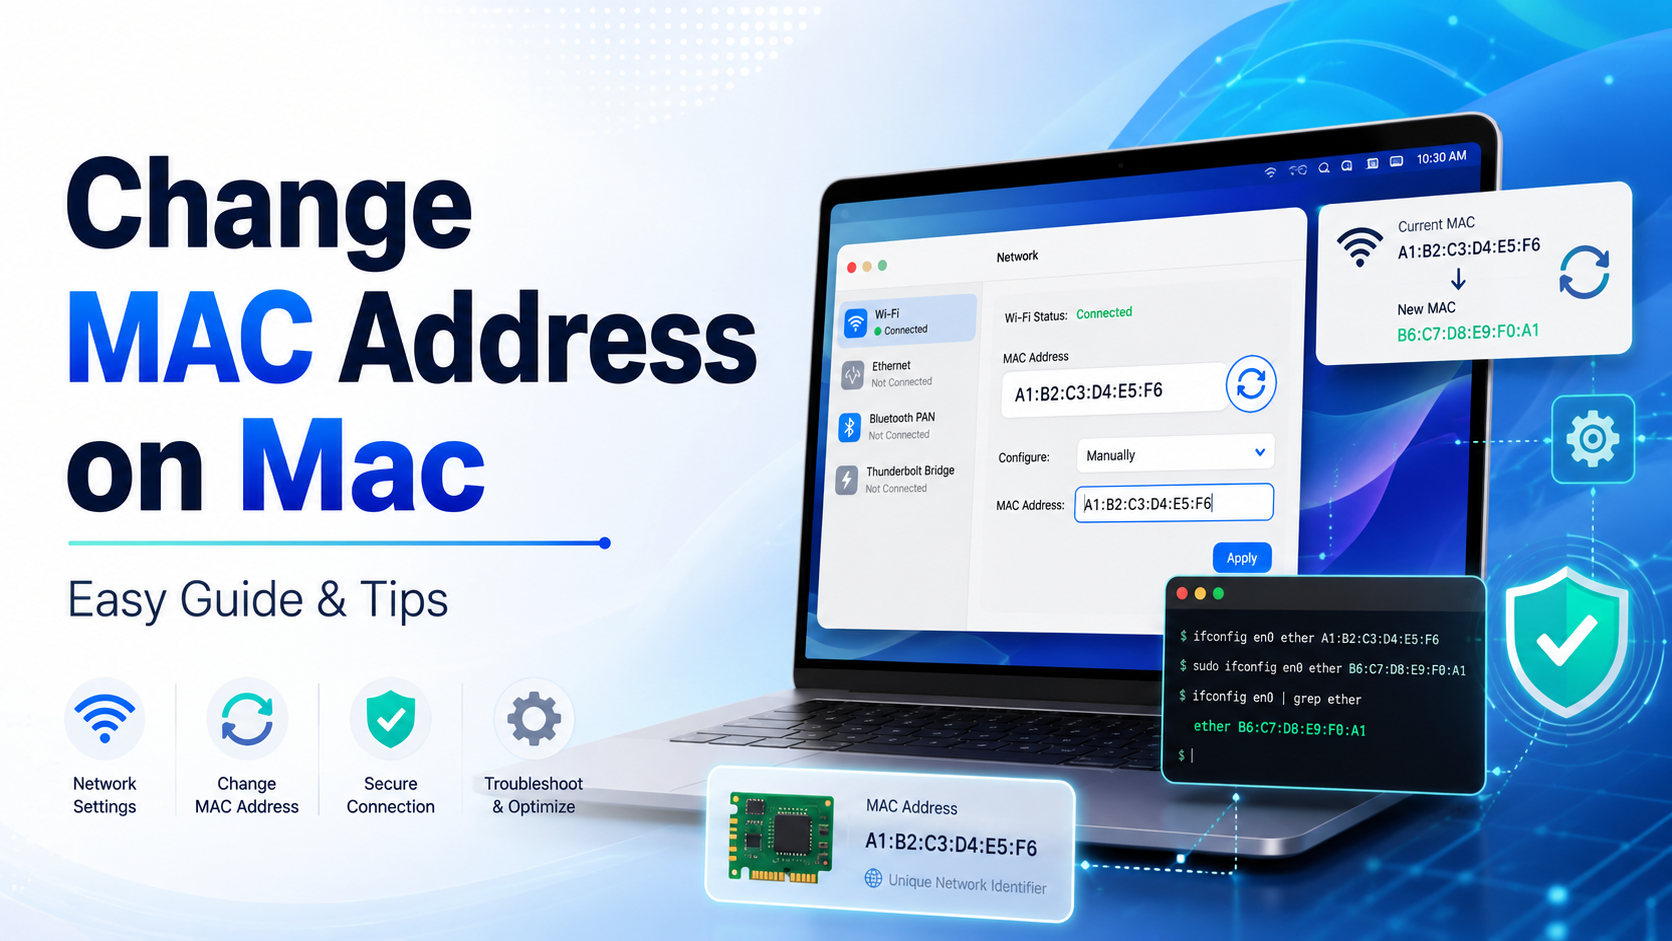

How to Change MAC Address on Mac: Complete Privacy Guide
In today's hyper-connected world, protecting your digital identity has never been more important. Every time your Mac connects to a network, it broadcasts a unique hardware identifier that can be logged, tracked, and used to build a profile of your behavior. If you've ever wondered how to change MAC address on Mac, you're not alone — it's one of the most practical privacy moves you can make as a modern computer user.
Whether your goal is to enhance anonymity, bypass restrictive public Wi-Fi timers, or troubleshoot a stubborn network issue, this step-by-step guide covers everything you need to know — from the basics to advanced Terminal commands.

Understanding MAC Addresses
Before diving into the how-to, it helps to understand what a MAC address actually is. MAC stands for Media Access Control. It's a 12-character alphanumeric identifier — looking something like f4:0f:24:1a:2b:3c — that is permanently assigned to your device's network interface controller (NIC) by the manufacturer.
MAC Address vs. IP Address: Key Differences
It's easy to confuse a MAC address with an IP address, but they serve completely different purposes. Your MAC address functions like a hardware serial number — it identifies your specific device on the local network. Your router uses it to direct packets to your laptop rather than your phone. Your IP address, on the other hand, acts like a mailing address. It's assigned by your router or ISP and changes depending on the network you join.
The critical distinction: your MAC address doesn't change when you move between networks. This static nature is precisely why so many privacy-conscious users want to learn how to modify it.
Why Your MAC Address Matters for Privacy
Every Wi-Fi network you connect to logs your MAC address. Retailers, shopping centers, and marketing firms routinely use these logs to track your physical movement patterns across different locations over time. If you use the same MAC address everywhere, it becomes a persistent fingerprint tied to your device — not just your account. Just as you might run a browser fingerprint test to see what data your browser exposes, checking and changing your MAC address is another layer of proactive privacy hygiene.
Why Change Your MAC Address? Key Reasons
There are several legitimate, security-focused reasons why people choose to spoof or rotate their MAC address. Here are the most common ones.
1. Boost Your Digital Privacy
Network administrators on public Wi-Fi can log which devices connect and for how long. By randomizing your MAC address before connecting, you appear as a new, anonymous device each time. This prevents third parties from building long-term behavioral profiles based on your network activity. For anyone serious about online privacy, this pairs naturally with a broader secure browser guide approach to reducing your digital footprint.
2. Bypass Public Wi-Fi Time Limits
Many hotels, airports, and cafes offer complimentary Wi-Fi for 30 to 60 minutes, after which access is blocked based on your hardware ID. By generating a new MAC address, the router recognizes your device as brand new — effectively resetting your free session. This is one of the most popular practical use cases for MAC spoofing.

3. Fix Network Authentication Issues
If your router's DHCP table gets corrupted, it may refuse to assign your device a valid IP address. Changing your MAC address forces the router to treat your Mac as a completely new client, often resolving stubborn connectivity errors without needing to restart the whole network. This is especially useful in office environments where rebooting the router isn't an option.
Preparation: Finding Your Current MAC Address
Before making any changes, write down your original MAC address. You'll need it to verify the change worked — and to revert back if needed.
Method 1: Via System Settings
This is the easiest approach for most users:
- Click the Apple logo in the top-left corner and select System Settings.
- Click Network in the sidebar.
- Select your active connection (usually Wi-Fi) and click Details or Advanced.
- Look for the Wi-Fi MAC Address field — it will display a string like f4:0f:24:1a:2b:3c.
Method 2: Via Terminal
For a faster, one-line approach, open Terminal (Applications → Utilities) and run:
ifconfig en0 | grep ether
This returns your current MAC address for the en0 interface (your primary Wi-Fi adapter). Write down the output before proceeding.

Important Note for Apple Silicon Mac Users
If you're running an M1, M2, or M3 Mac, be aware of an important hardware limitation. Apple has hardcoded certain network security protocols into the Wi-Fi architecture of these chips. If you attempt to spoof your Wi-Fi interface using a completely random address that doesn't follow Apple's OUI (Organizationally Unique Identifier) prefix format, your Mac may reject the change — and your Wi-Fi may refuse to turn on until you revert it.
Pro Tip for Apple Silicon users: Either use a third-party USB Wi-Fi adapter, or use a spoofing tool that automatically generates addresses with valid Apple OUI prefixes (the first 6 hex characters). This avoids the hardware rejection issue entirely.
Step-by-Step: How to Change Your MAC Address via Terminal
This method uses only built-in macOS tools — no additional software required. Follow each step carefully.
Step 1: Disconnect from Your Current Network
Your Wi-Fi card must be disconnected from an active network before you apply the change, but the Wi-Fi hardware itself must remain enabled. Hold Option, click the Wi-Fi icon in your menu bar, and select Disconnect from your current network.
Step 2: Generate a Random MAC Address
In Terminal, run the following command to generate a properly formatted random address:
openssl rand -hex 6 | sed 's/..../&:/g;s/:$//'
Copy the output (e.g., 1a:2b:3c:4d:5e:6f). You'll use this in the next step.
Step 3: Apply the New MAC Address
Run the following command, replacing [NEW MAC ADDRESS] with the string you just generated. You'll be prompted for your Mac login password — type it and press Enter:
sudo ifconfig en0 ether [NEW MAC ADDRESS]
Step 4: Reconnect and Verify
Click the Wi-Fi icon and reconnect to your desired network. Then run the verification command again:
ifconfig en0 | grep ether
If the output shows your new address instead of the original, the spoof was successful. Never skip this verification step — it only takes a few seconds and confirms the command worked.
Alternative: Third-Party MAC Spoofing Tools
Not everyone is comfortable with the command line, and that's perfectly fine. Several well-regarded third-party macOS apps — such as WiFiSpoof — provide a graphical interface for changing your hardware ID with a single click. These tools often include built-in randomization engines, the ability to save multiple MAC profiles, and automatic Apple Silicon compatibility handling.
For users managing multiple online accounts, browser profiles, or automated workflows, Hidemium takes privacy further by isolating browser fingerprints, cookies, proxies, and login environments across separate profiles. This makes full-stack identity separation easy to manage — going well beyond what MAC-level changes alone can achieve.

How to Revert Your MAC Address
A spoofed MAC address on macOS is always temporary. The change lives only in your system's volatile memory, so the simplest way to restore your original address is to restart your Mac. On reboot, macOS clears the temporary network configuration and pulls the original hardware identifier directly from the physical NIC.
If restarting isn't an option, manually revert in Terminal by running the same command with your original address:
sudo ifconfig en0 ether [YOUR_ORIGINAL_MAC]
If your network settings become severely corrupted, navigate to System Settings → Network, delete the Wi-Fi connection entirely, restart your Mac, and re-add Wi-Fi as a fresh connection to reset everything to defaults.
Frequently Asked Questions
Can I change the MAC address on a wired Ethernet connection?
Yes. The process is identical, but you target a different interface. Instead of en0 (Wi-Fi), use your Ethernet interface — typically en1 or en2. Run networksetup -listallhardwareports in Terminal to see the exact name for your Ethernet port.
Is MAC address spoofing legal?
In most jurisdictions, yes. Changing your own device's hardware identifier is a recognized legitimate privacy practice. However, using MAC spoofing to bypass security bans on corporate networks, commit fraud, or engage in malicious activity is illegal. Use this knowledge responsibly.
Will changing my MAC address hide my browsing from my ISP?
No. Your MAC address only governs local network communication — between your device and the router. Once data leaves the router and reaches the internet, your IP address takes over. To hide traffic from your ISP, you need a VPN in addition to MAC-level privacy measures.
Conclusion
Learning how to change your MAC address on Mac is one of the most practical, low-effort ways to strengthen your network privacy. Whether you're preventing retail tracking systems from logging your movements, bypassing a frustrating airport Wi-Fi timer, or fixing a local network glitch, a few Terminal commands give you complete control over how your hardware is identified.
Always follow the golden rule: write down your original address before making changes, verify the new address was applied, and remember that a simple restart will always restore your default identity. Pair this with broader digital hygiene practices for a significantly stronger overall privacy posture.
Related Blogs
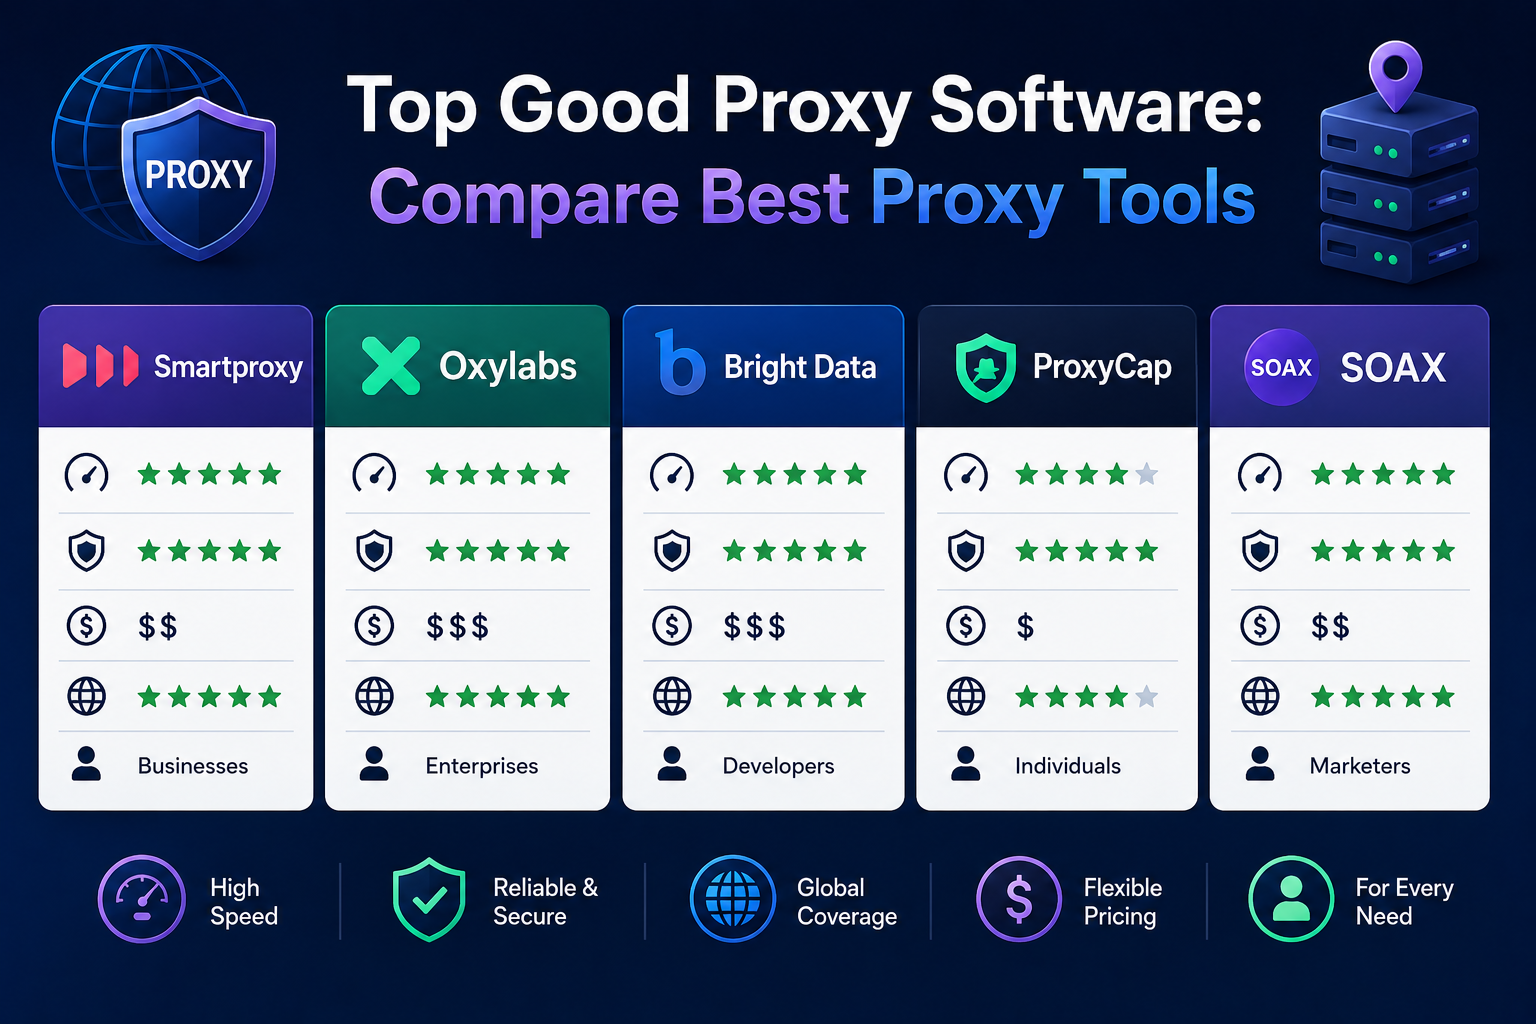
Whether you are an everyday internet user looking to access region-locked content, or a business professional running large-scale data extraction campaigns, your online identity is constantly monitored. Every website you visit logs your IP address, noting your location, browsing habits, and digital footprint. To reclaim your digital autonomy, you need to understand how to mask your IP address[…]

Fingerprinting is a sophisticated technique used to track online activities. By collecting data from your device, browser, and behavior, systems create a unique identifier to monitor all your interactions on the web.Many users try to block fingerprinting to protect their privacy. Unfortunately, this does not guarantee that you can avoid account bans or access restrictions. Let’s explore what[…]
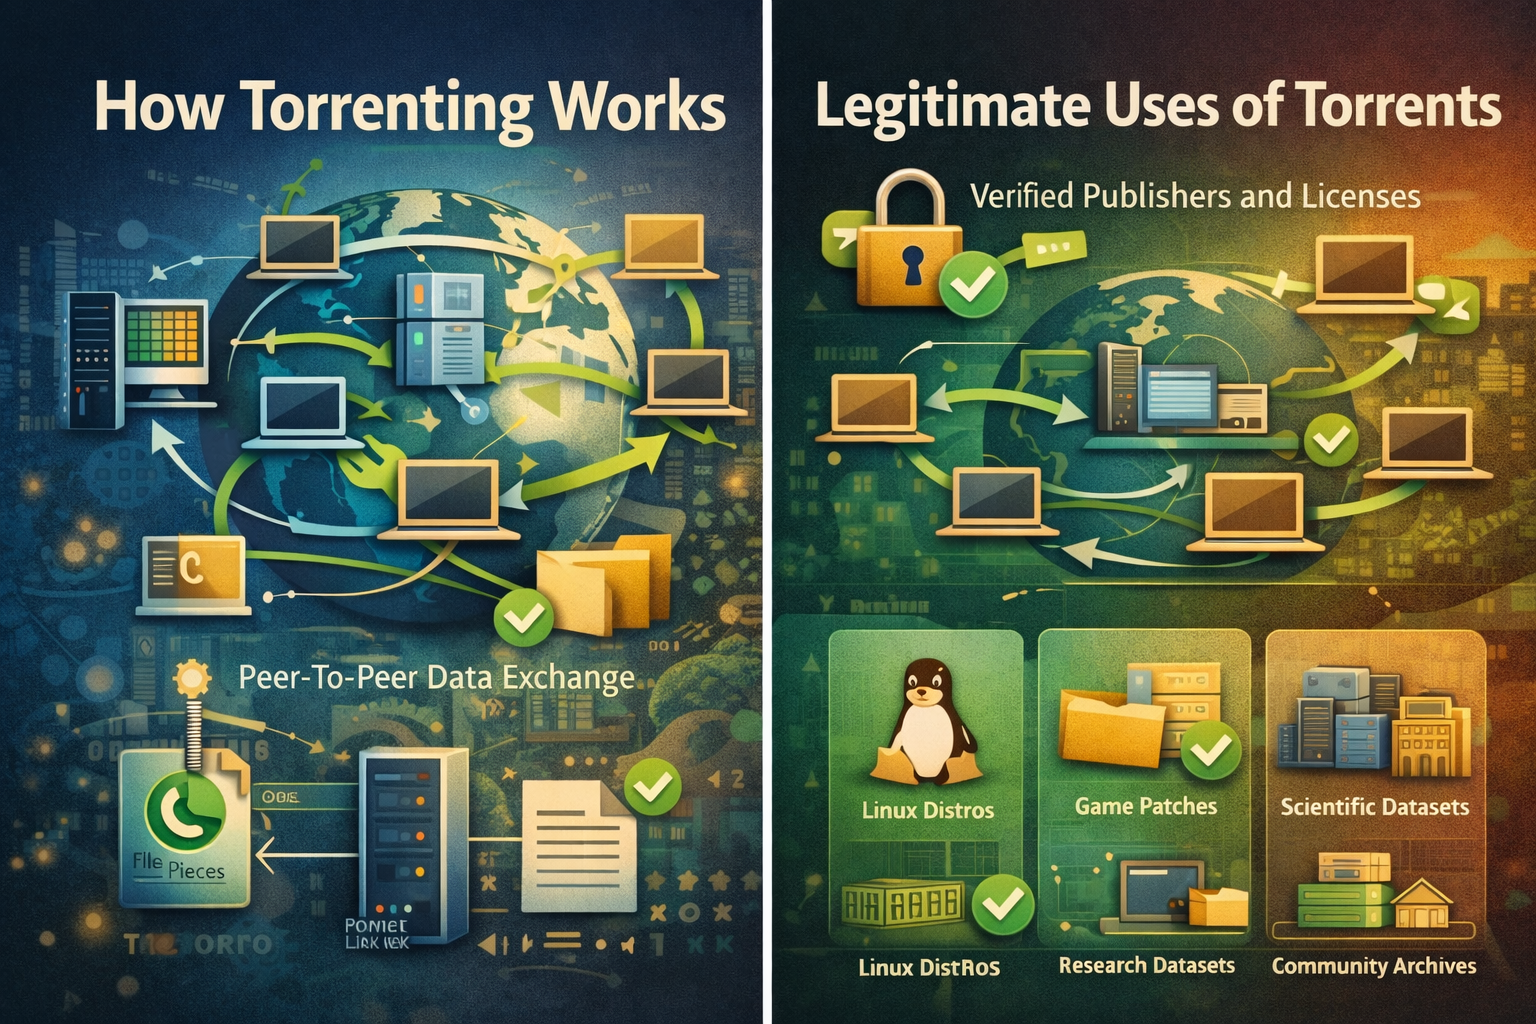
Torrenting is a peer-to-peer method for distributing large files, where many participants exchange small pieces concurrently so downloads and uploads proceed efficiently without relying on a single central server.Clear rules, reputable sources, and routine checksums make torrenting predictable for legitimate content such as open-source software, public datasets, and authorized media that rights[…]
.png)
With TikTok becoming an increasingly lucrative platform for advertising and e-commerce, understanding trends and analyzing competitors is no longer an advantage—it's a necessity. However, with millions of ads running daily, how do you know which content is actually driving conversions?That's when the toolsTikTok AdspyUnleash your strengths. Platforms like Pipiads and BigSpy allow you to "spy" on[…]

Which is the better choice for your online business—VPN or Proxy? While many people mistakenly believe that simply using a VPN to change their IP address is enough for security, major platforms can still easily detect shared IP ranges and blacklist associated accounts. The difference between data encryption (VPN) and dedicated IP rotation (Proxy) is often the line between smooth operations and[…]

What is Niche Scraper And is this the right tool to start dropshipping? That is the question that many new dropshippers ask when trying to find potential products to sell. In the journey of starting an online business, choosing the right product research tool from the beginning can determine the speed of orders and the ability to maintain profits. Niche Scraper is one of the names mentioned a[…]
